The Daily Dairy
5 Tips on Working in the Kitchen with Butter
My family’s appetite for butter is second-to-none. That’s why I’m always trying new ways to cook with and enjoy the rich and creamy goodness that is Minerva Dairy Butter. Because, at the end of the day, what’s better than your family coming together in the kitchen and smiling over their favorite butter-filled dish? Not much, if you ask me!
Since butter is such a versatile ingredient, keeping up with all the different ways to cook with it is tough. As a busy business woman, mom of six (yep, you read that right!) and a butter expert, I have put together five better butter tips to make your next kitchen adventure more fun than the last.
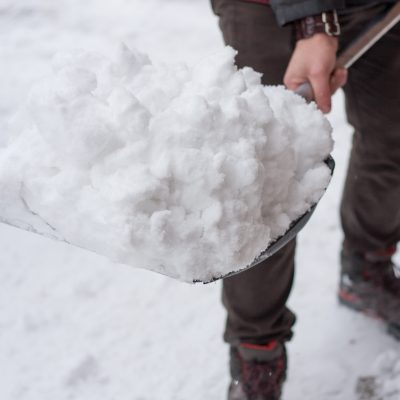
- Freezer safe – Yes, it’s totally OK to freeze butter. The next time there’s a sale at the dairy case and you want to stock up on your favorite butter flavors, there’s no need to hesitate. Simply keep the additional butter in its original packaging, place it in a freezer-safe bag and freeze. Salted butter can last up to 12 months in the freezer, while unsalted usually will last about six. To thaw frozen butter, you can defrost it in the microwave, using short bursts at a low power level until the butter is softened. Or you can leave the frozen butter in the refrigerator for a few hours.
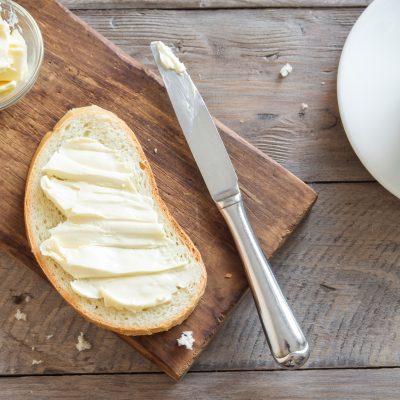
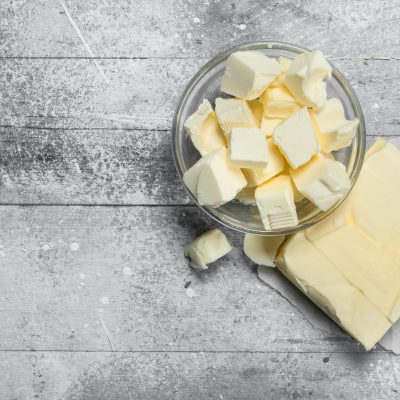
- Grating and texturizing – We’ve seen many butter hacks that make it easier to get your pieces of butter to the right size and consistency, but these two tricks are our favorites: the heated glass and the grater. For the glass method, heat a glass of water in the microwave, then toss the water and cover the stick of butter with the warm, empty glass. Let the steam from the glass warm and soften your butter until it reaches the texture you want. Next, if your recipe calls for small pieces of butter, but you’re finding it hard to cut into a stick or roll of ice-cold butter, it’s time to break out the cheese grater. Yes, you read that right. Use the grater when you need tiny, soft pieces of butter, or when you want to butter your bread without tearing dreadful, irreparable holes through half the slices in the loaf.
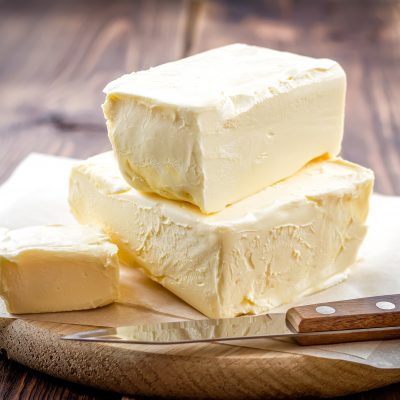
- Room temperature – How do you know when your stick of butter is at room temperature? Gently bend the stick; if it doesn’t snap or break, that means it’s warm enough to use. On the other hand, if it loses shape when you touch it, it’s too warm. Room temperature butter is actually cool to the touch. And just why do some recipes, call for room temperature butter? Because ingredients at room temperature tend to bond together easily, which will help create a seamless and evenly textured batter. If your ingredients are too cold, they won’t emulsify, and the result will be clumpy. Nobody wants that.
- Smoke point – Butter has a smoke point of 350 F. That’s when the heated fat starts to smoke. Clarified butter can be heated at higher temps, up to around 450, before it will start to smoke. For reference, sautéing uses temperatures 400 or hotter, so it’s recommended to use a combination of butter and another oil when the directions tell you to sauté. To really enhance the natural flavors of the food you are cooking, it’s best to cook butter over medium heat and allow it to caramelize. (Note: When you clarify butter, you remove all of its milk solids and water, leaving butterfat.)
- Salted vs. unsalted butter – How do you know when to use which? Unsalted butter puts the cook in control of the overall flavor of a recipe. Unsalted is recommended when you want the natural sweet cream flavor of a dish to shine through (like with baked goods). Salted butter adds flavor and is perfect for spreading on top of breads, vegetables and other foods or ingredients, when you don’t need to control the specific amount of salt in the dish or recipe.
In my humble opinion, you can never know enough about butter! Whether you’re a seasoned chef or a kitchen newbie, I hope these tips from a butter expert like me will help take your butter obsession to the next level.
The Daily Diary
You’re Not Butter Obsessed Unless You Do These 10 Things
Grandma Lorraine always used to say, “There’s not much in … More

How Is Better Butter Made?
Ever wonder how better butter is made? As America’s oldest … More
Is Butter Bad for You? Myths vs. Reality
In the Minerva family, we know that butter is better. … More
Life Hacks Every Butter Fanatic Needs to Know
It’s true, we lead a “butter” life than most. For … More
Meal Prepping with Butter
Meal prep. It’s a life saver for busy people like … More
Shape Up Your Holidays with Fun & Festive Butter Gifts
Shape Up Your Holidays with Fun & Festive Butter Gifts … More